
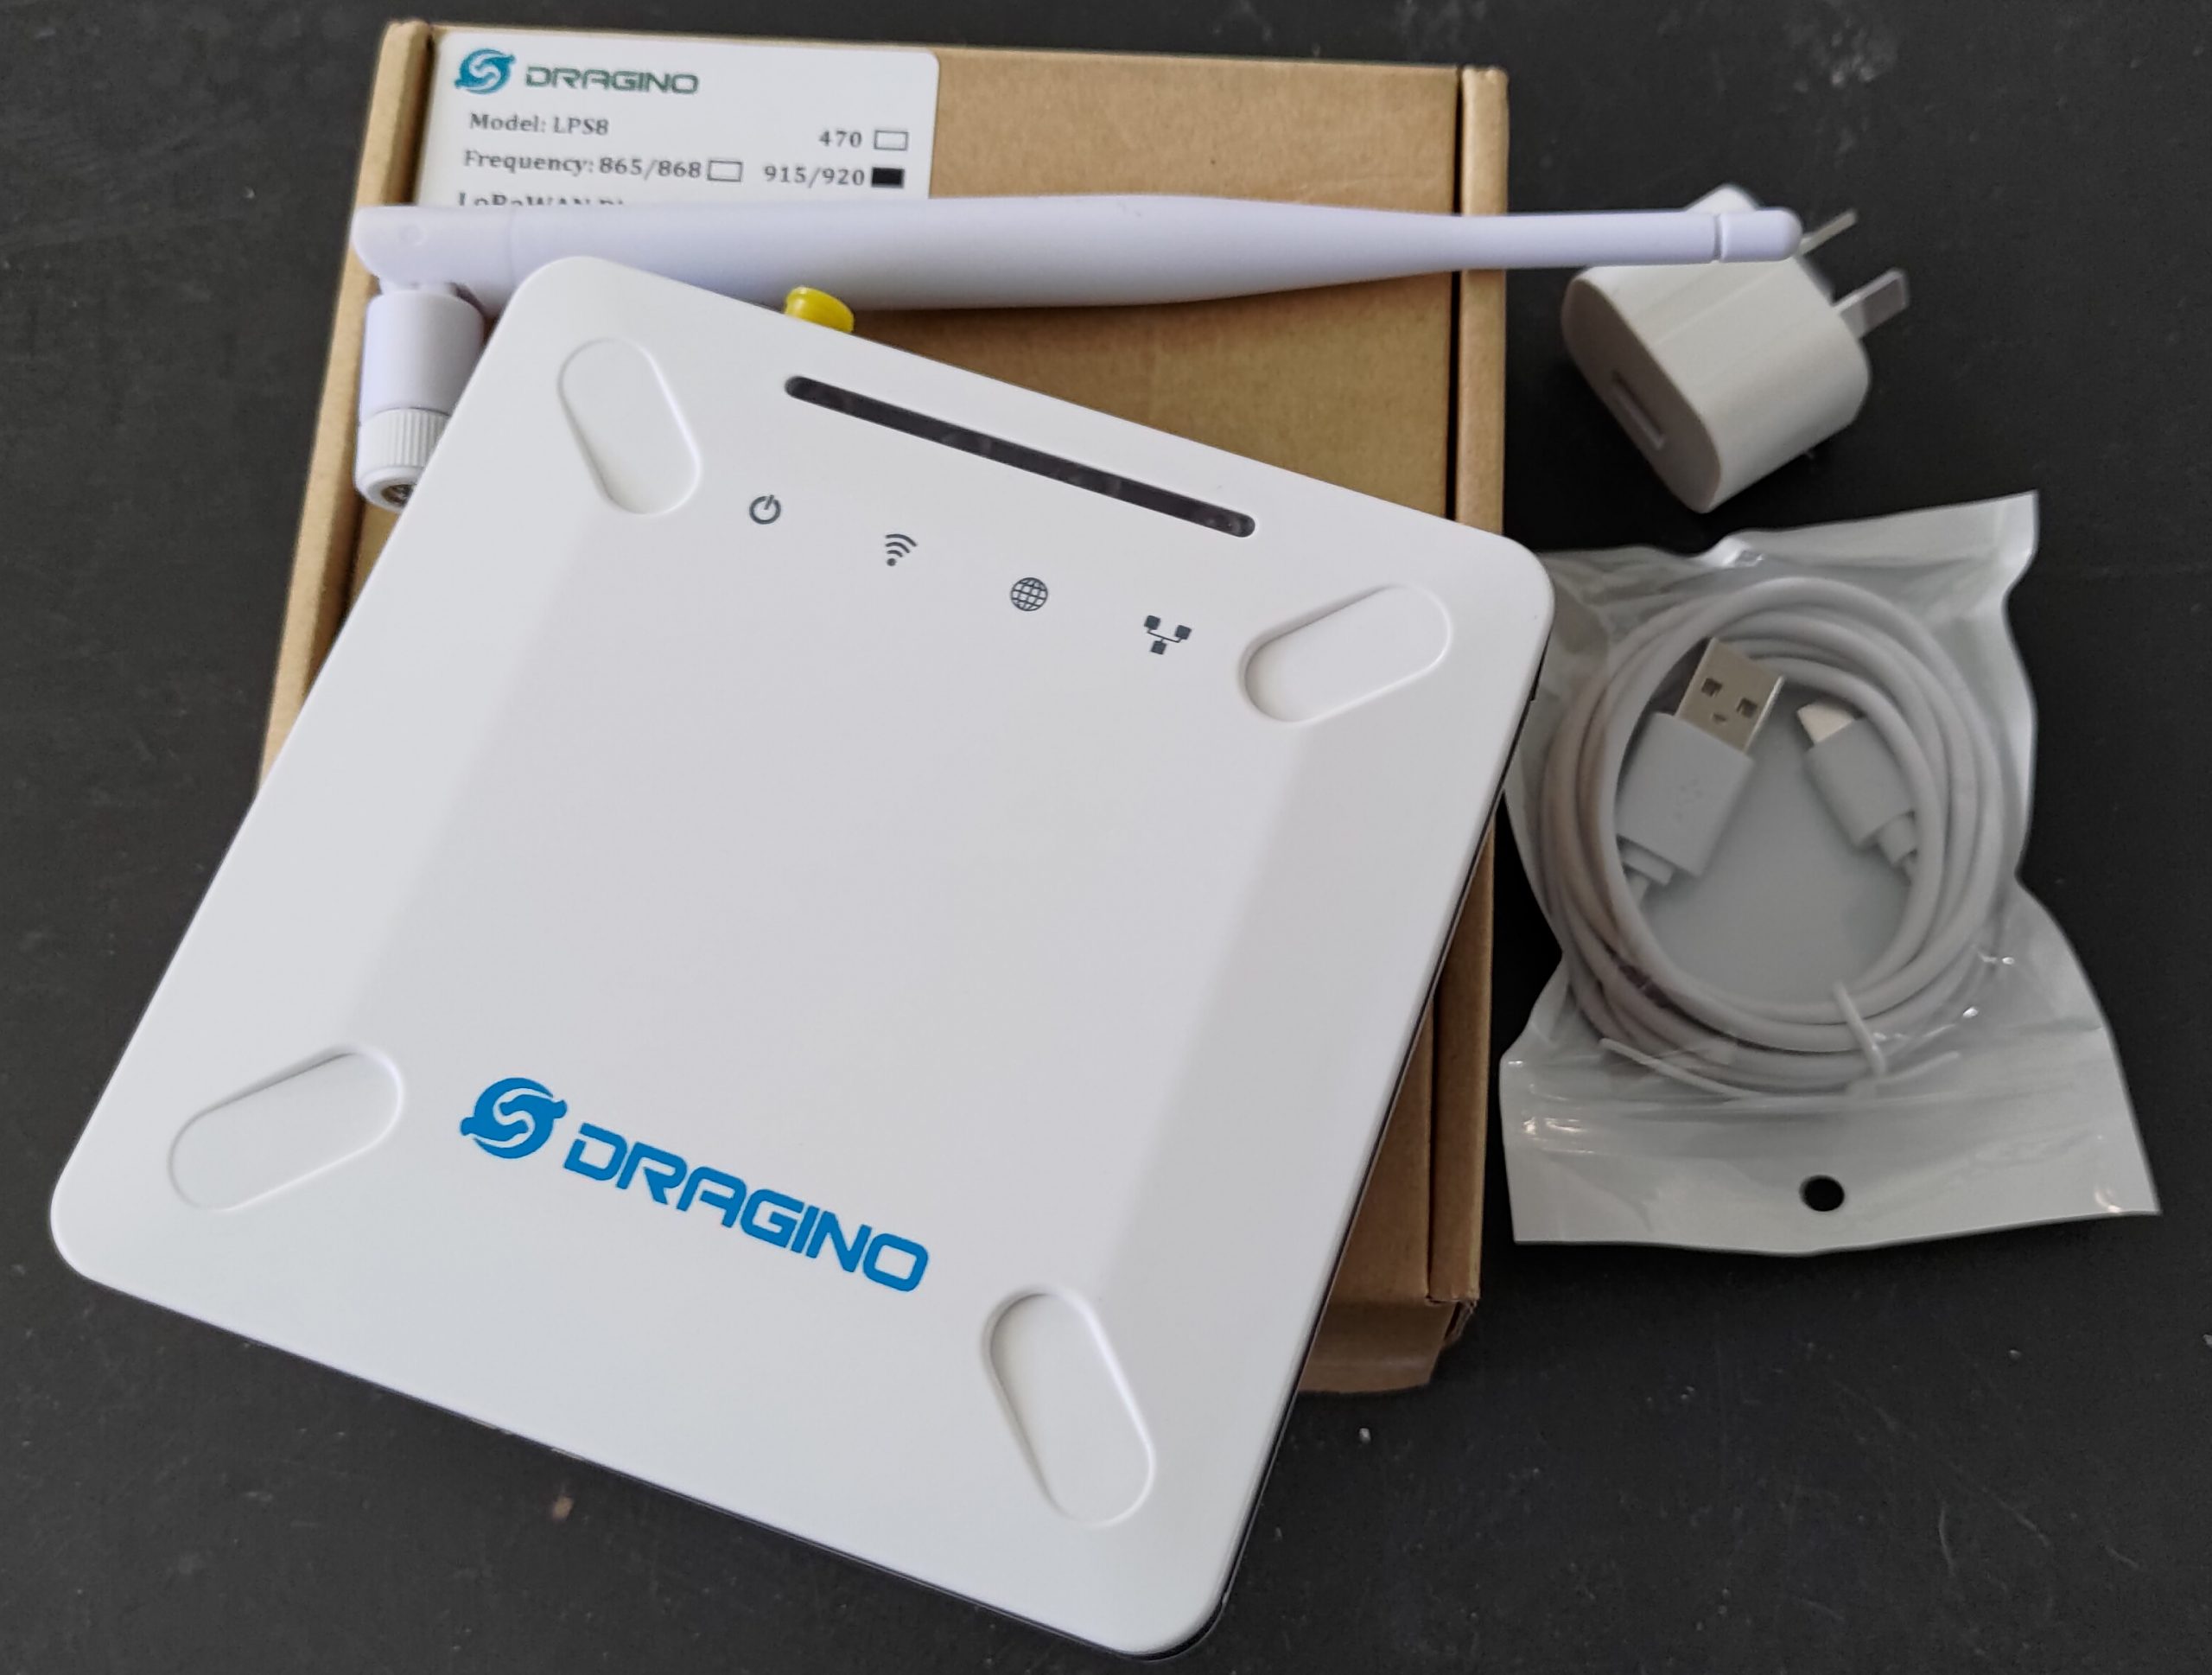
I recently got a Dragino LPS8 LoRaWAN gateway and set it up on my network. The LPS stands for LoRaWAN Pico Station.
The open source gateway runs a variant of OpenWRT and the latest version supports a range of LoRaWAN features including Basic Station. You can use it for a private network or set it up with a community as I did for The Things Network (TTN).
Read on for details of how easy it was to set it up securely.
Initial connection
You first need to decide where you want it located and the network connection it will use.
I have a separate VLAN for my IoT Devices, with access to the Internet, so configured one port of my switch for that VLAN as untagged traffic -- this means the end device doesn't need to know about the VLAN, but all traffic it sends (and receives) will be allocated to that VLAN by the switch.
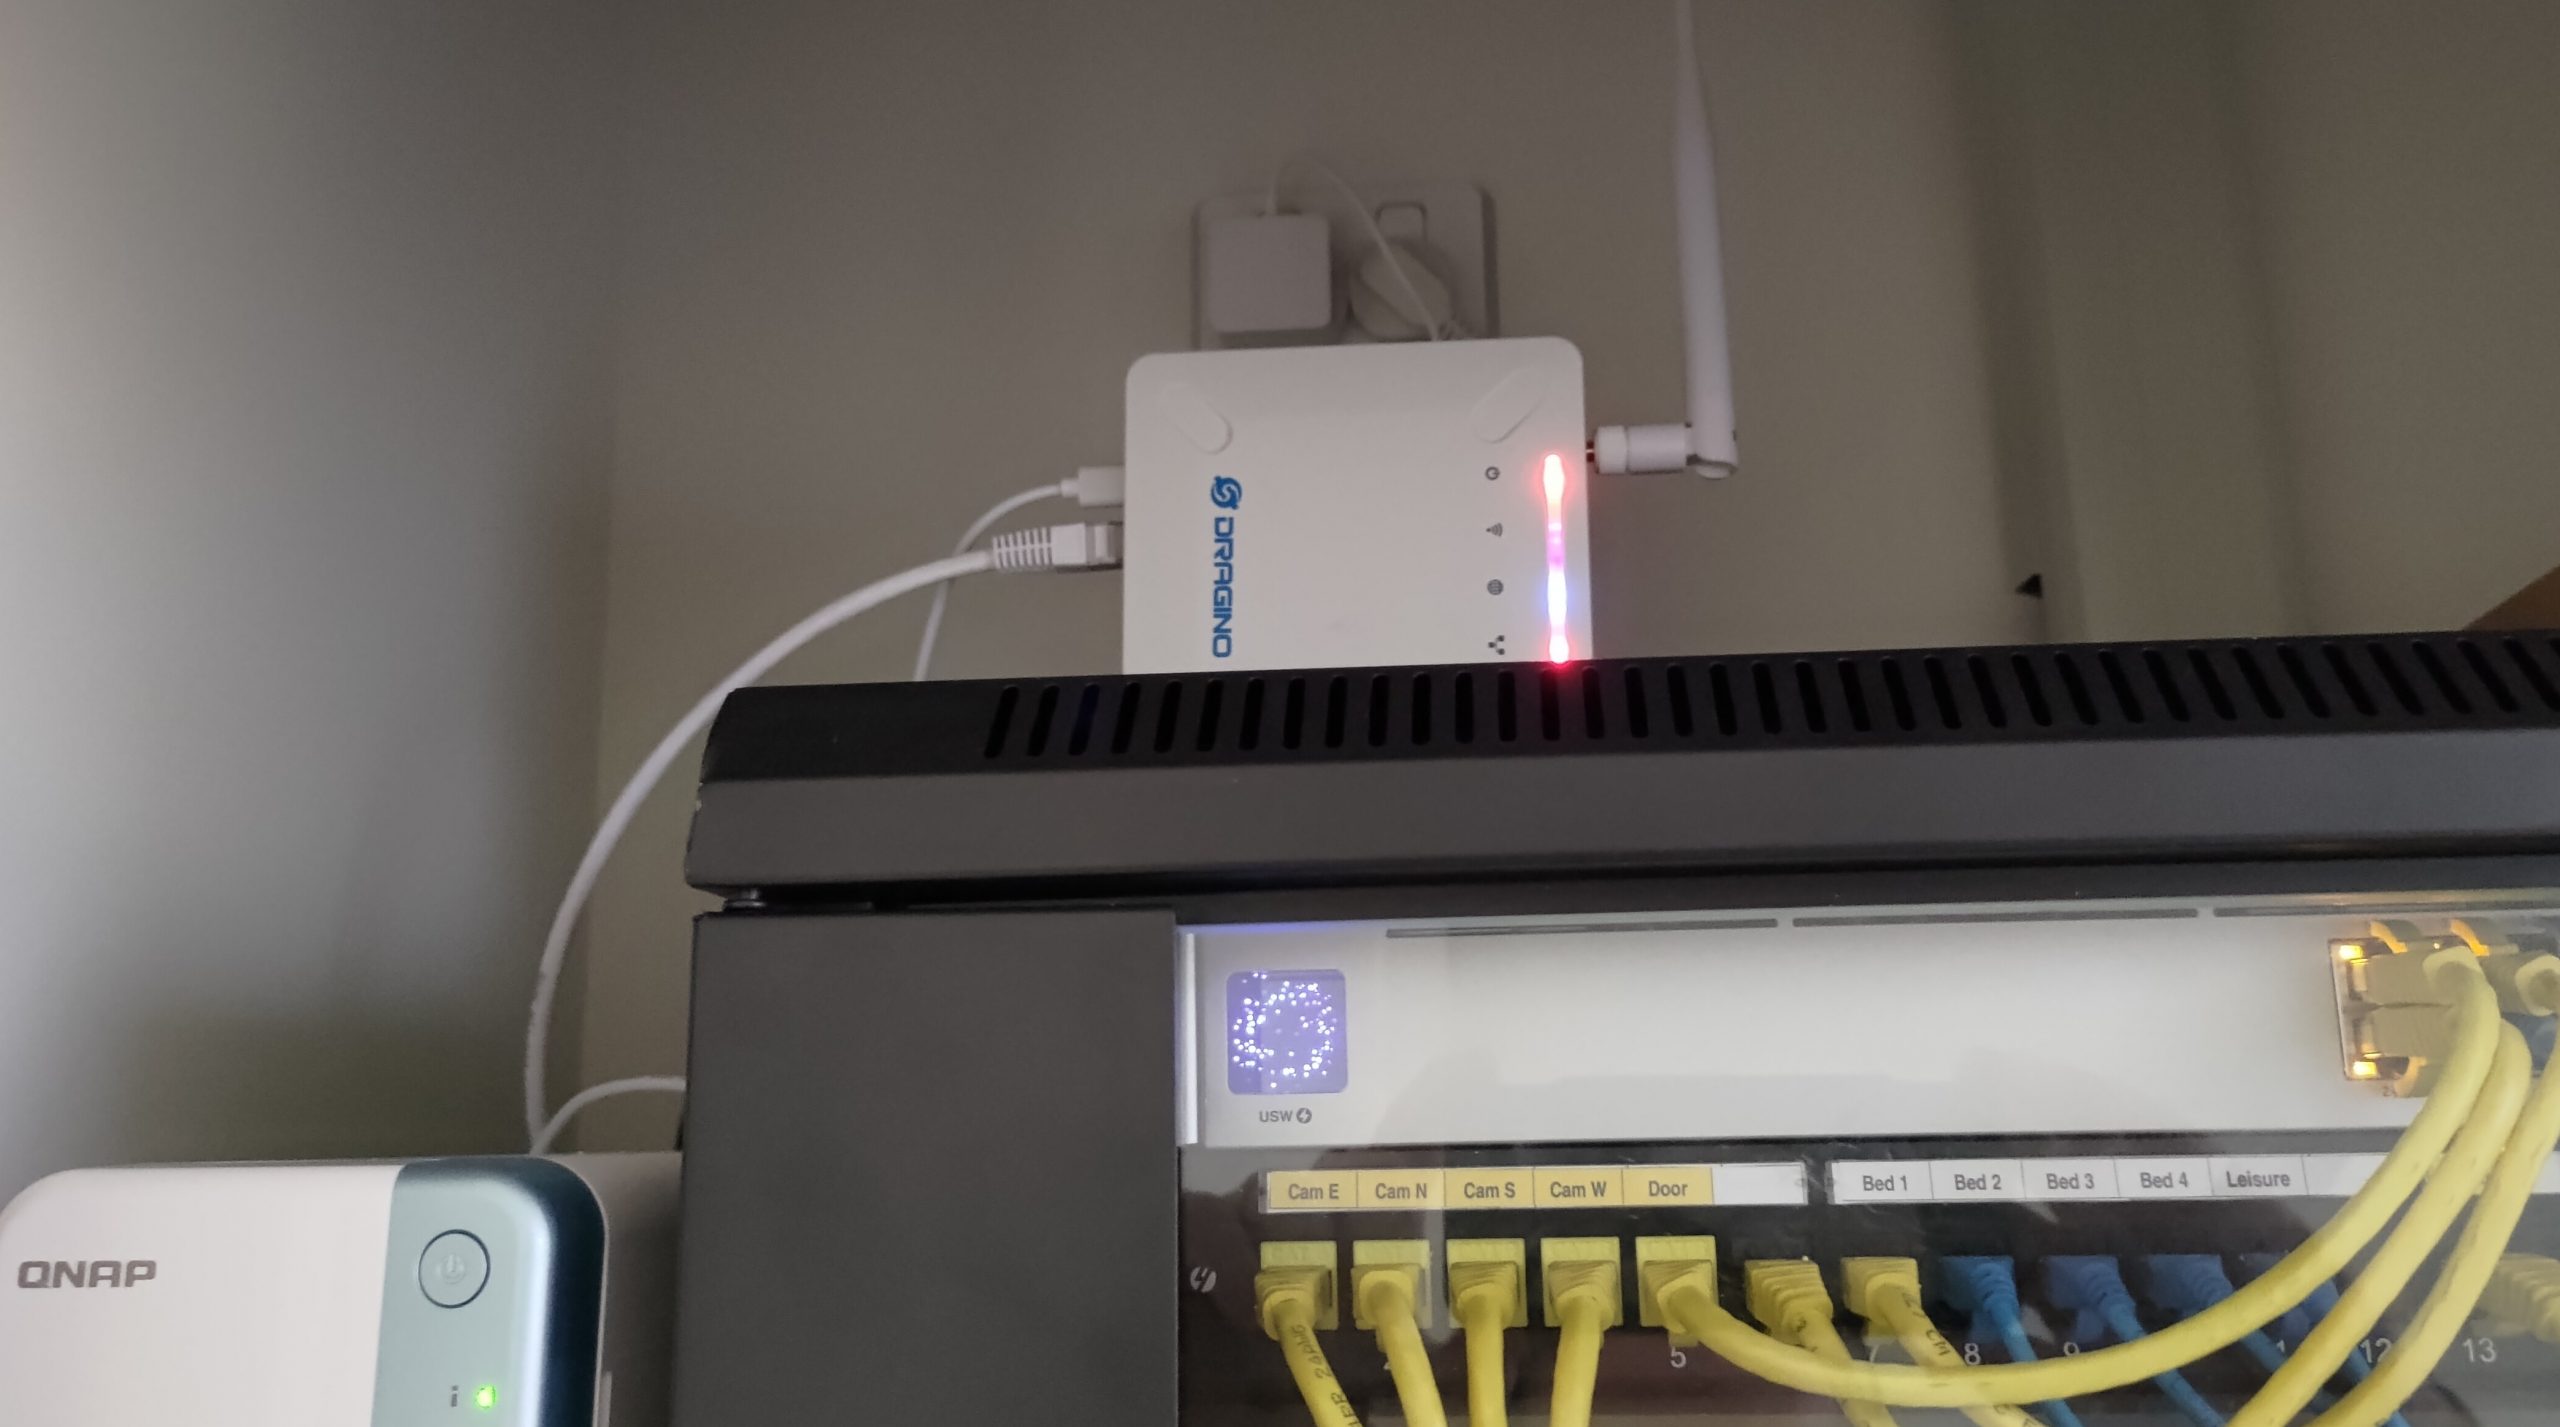
A bit of fiddling around (I have a fairly small network cabinet) and the network is plugged in.
Unfortunately the LPS8 does not have PoE, so I also need to connect the power (USB-C). I might get a PoE splitter to make this a bit easier.
The LPS8 does also support WiFi for the uplink side, although I just used Ethernet.
Once turned on, I checked my router's DHCP leases and found dragino-2188e4 listed.
I can then connect to http://:8000/ and log into the device.
For more details, the manual is available for download: https://www.dragino.com/downloads/index.php?dir=LoRa_Gateway/LPS8/
Change the defaults
First updated the firmware (although the device already has a recent build), as the manual recommends not keeping settings (in case there are any conflicts). https://www.dragino.com/downloads/index.php?dir=LoRa_Gateway/LPS8/Firmware/Release/
Note that resetting to the factory default changed the radio to EU868 (previously it had been US915) and also to connect by default to The Things Network at eu1.cloud.thethings.network, so make sure to do it before any other setup.
I also grabbed the MAC address, for both the ethernet and WiFi client, and set that up with static DHCP address assignments, so that the device will have a fixed IP address.
Once updated the first thing to do was change the web admin password and the root password. You should also either turn off the WiFi Access Point or at least change the default passphrase.
Set up the gateway registration
There are various options for connecting your LoRA gateway to a network, or use it as a private gateway.
I wanted to connect it to the public The Things Network (TTNv3), so need to register the gateway in my account.
There are instructions for this in the user manual (linked above), as well as on The Things Network website, https://www.thethingsindustries.com/docs/gateways/dragino-lps8/
First of all you need to create an account on The Things Network (https://thethingsnetwork.org/), then log in and select the console cluster for your region; in my case Australia (Sydney, although I am in Brisbane).
Select the Gateways section, then Add gateway.
You need to give it an ID and name (you can just use the device name). The Gateway EUI is based on the WiFi MAC address of the LPS8; it is also displayed in the LoRaWAN settings on the device.
You also need to record the Gateway Server address, for configuring the device. In my case the Australian server is au1.cloud.thethings.network.
The other thing to select is the Frequency plan. For Australia that is Australia 915-928 MHz, FSB 2 (which is marked 'used by TTN' in the setup).
Click Create, and the device appears in your gateways list (initially as disconnected).
Device LoRa setup
On the LPS, in the LoRa > LoRa configuration, you also need to set the Frequency Plan and Sub Band to match the gateway registration, in my case AU915, FSB2. (Although after Basic Station setup this section had a message that it was related to UDP setup, so maybe this is not needed)
I also configured the location (latitude and longitude). Then click Save & Apply.
Connect the gateway
In the LoRaWAN configuration there are options for LoRaWAN -- Basic Station and the legacy LoRaWAN - Semtech UDP, as well as a few others.
The Basic Station has better security, but involves some additional steps to set up certificates and keys.
The instructions for Basic Station are on The Things Network (see the child pages for CUPS and LNS), except you need to upload the certificates first and then enter the key directly rather than via a file: https://www.thethingsindustries.com/docs/gateways/lora-basics-station/
TTN preparation
You will need to download the Root Certificate References .pem file from TTN. Download the Minimal Certificate List for Common Installations from https://www.thethingsindustries.com/docs/reference/root-certificates/
Then create a LoRaWAN Network Server (LNS) API Key, and add the key to your gateway settings as the Basic Station LNS key. This key will be transmitted (securely) to the gateway via CUPS.
- In the Gateway API keys, click Add API key.
- Fill in the details with name "LNS" with the permission to Link as Gateay to a Gateway Server for traffic exchange.
- Click Create API key.
- Make sure you copy the key, as it will be hidden after closing the create window.
- Click I have copied the key.
- In the Gateway General settings, paste the key into the LoRa Basics Station LNS Authentication Key.
- Also enable Require authenticated connection, to block UDP forwarding.
- Then click Save Changes.
Then create a Configuration and Update Server (CUPS) API Key, to apply to your device along with the TTN server certificate (PEM file).
- In the Gateway API keys, click Add API key.
- Fill in the details with name "LNS" with the permission to View gateway information, Retrieve secrets associated with a gateway, and Edit basic gateway settings..
- Click Create API key.
- Make sure you copy the key, as it will be hidden after closing the create window.
- Click I have copied the key.
You will need to copy the key to the LPS8.
Device setup
On the LPS8, setup LoRaWAN > Basic Station.
In the CUPS Certificate Authority section, select the CA .pem file that you downloaded, and then click Upload CUPS Cert.
It will display some other settings while the browser is loading, but be patient and it will come back showing the CUPS Certificate Authority as cups.trust.
Select service provider The Things Network.
As I am using the Community Edition (not my own tenant) for Australia, my CUPS server address is https://au1.cloud.thethings.network:443
Paste in the CUPS Authorization Key. You don't need the LNS key, as it will be provided via CUPS.
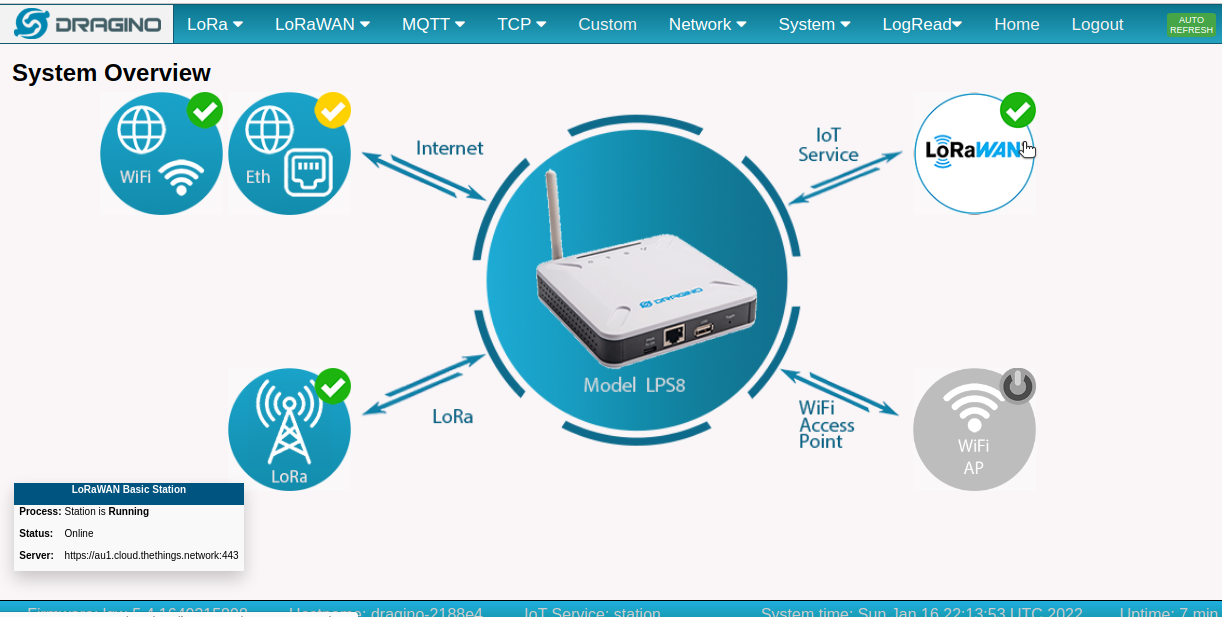
Click Save & Apply. The Current Mode will change to Basic Station -- TTN.
Checking the TTN console, you should now see the device details appear as it connects.

How Basic Station works
The CUPS server provides a bootstrap service.
The device will encrypt and send the CUPS Key using the public certificate of the TTN CUPS server that we loaded in the .pem file (so only TTN can view it).
TTN will then authorize the CUPS Key and provide the LNS details and LNS key for the device to use.
This allows the device to then connect securely to the LNS server.
Next steps
With an accessible gateway, nearby devices can then be added to the community network (you don't necessarily have to use the same account).
A good test would be to see what range you can get devices to connect from, and if necessary experiment with different mounting options to get better range.
You can also set the LPS8 up as a private gateway and connect either to your own network or direct to one of the cloud IoT offerings.